


No products in the cart.
Introduction
In the application system of microcontroller, keyboard is essential in man-machine dialogue. When you are short of a button, you can connect one to the I/O port of the comtroller; but when you need a lot of buttons with limited I/O port resources, this 4*4 Matrix Keypad is no doubt your best choice.
In the application system of microcontroller, keyboard is essential in man-machine dialogue. When you are short of a button, you can connect one to the I/O port of the comtroller; but when you need a lot of buttons with limited I/O port resources, this 4*4 Matrix Keypad is no doubt your best choice.
4*4 matrix keypad is the most applied keypad form. We need to master its keypad identification technology as entry to microcontroller world. Here, we will use an examples to illustrate the identification method of 4*4 matrix keypad. The key layout is in matrix form, so with only eight I/O ports, we can identify 16 buttons, saving lots of I/O port resources.
Hardware required
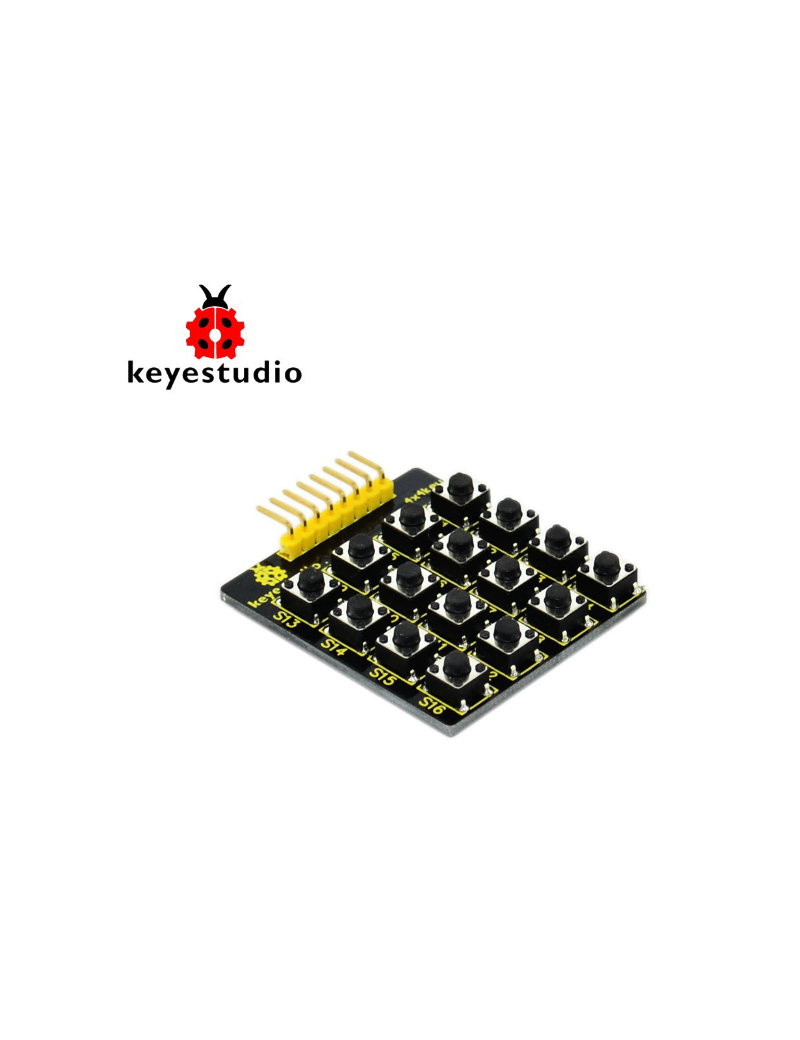
4*4 large button module * 1
Multicolor jumper wires * several
Breadboard * 1
The smaple code of this button module is in the folder “4*4 button experiment”. Firstly, you need to unzip class library file “Keypad.zip” and place it in subfolder “libraries” of folder “Aduino” .
Codes are as below:
#include <Keypad.h>
const byte ROWS = 4; // define row 4
const byte COLS = 4; // define column 4
char keys[ROWS][COLS] = {
{'1','2','3','A'},
{'4','5','6','B'},
{'7','8','9','C'},
{'*','0','#','D'}
};
// connect row ports of the button to corresponding IO ports on the board
byte rowPins[ROWS] = {2,3,4,5};
// connect column ports of the button to corresponding IO ports on the board
byte colPins[COLS] = {6,7,8,9};
// call class library performance function of Keypad
Keypad keypad = Keypad( makeKeymap(keys), rowPins, colPins, ROWS, COLS );
void setup(){
Serial.begin(9600);
}
void loop(){
char key = keypad.getKey();
if (key != NO_KEY){
Serial.println(key);
}
}
5. Upload the program
According to arduino tutorial, upload the program to the board.
6. Program fuction
Upload the program to the board, open serial monitor; press certain button on the module, it will