
No products in the cart.


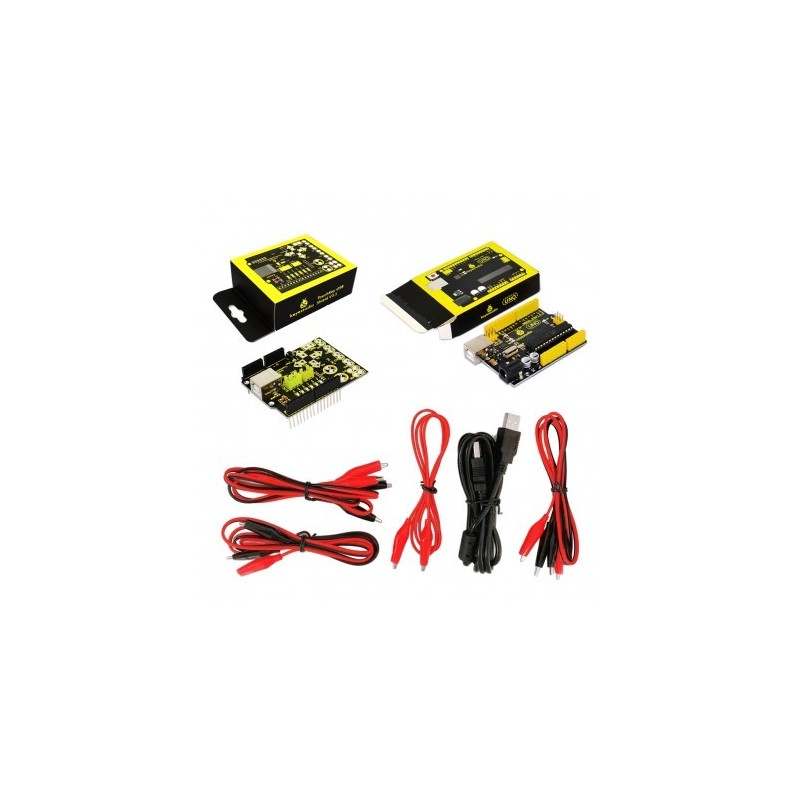
keyestudio Maker Touch shield
WIKI: http://wiki.keyestudio.com/index.php/Ks0188_keyestudio_Maker_Touch_Starter_Kit
Video: http://www.keyestudio.com/wp/2016/09/ks0188-keyestudio-maker-touch-starter-kit/
http://www.keyestudio.com/wp/2016/10/ks0188-play-games-with-anything/
Maker Touch is a very simple circuit board and combined with open-source ARDUINO control board to make any object a compute input device. That is to say, it can make stairway into a piano, bananas into a keyboard , plasticine into a joystick and even your families into a musical synthesizer.

Maker Touch is developed by KEYSTUDIO. Its volume is very small(similar to Arduino Uno). It has a USB interface connected to computer and a alligator clip connected to other objects.
Maker Touch’s meaning lies in using a very simple way to create art by artists. You have no need to install driver. You can use it combined with Arduino, and compile corresponding codes into Arduino , in order to make Maker Touch replace different keys of keyboard. When connected to bananas, it becomes a banana piano; when connected to plasticine, it becomes a joystick. Besides, you can draw buttons on a piece of paper with a pencil , the paper becomes a controller of a game, Pacman.
As long as objects conduct, Maker Touch can work on it. If no response, just sprinkle water on objects. So even stone, it works the same. It uses ARDUINO microcontroller to simulate a keyboard, and leads out several keys replaced by switches as touch switch. Maker Touch employs touch input , namely, a double-contact switch, and lead out touch port and ground connected to two touch electrodes. Because of body-resistor, when you touch the two electrodes, there is certain current flowing through between them. Detect the current to know touch events. The same way as Makey Makey.
Because the touch part is sensitive to electromagnetic interference around, the touch board and Arduino cable must use shielding line. The cored wire of six shielding lines connects to A0~A5, shielding layer to positive side of power supply?+5v?.
In this project, we use a external pull-up resistor of 2M?, and input port is high voltage in normal state. So the default of AD converting value is 1023. Touch GND and A0~A5 to decrease input voltage, and as a result, change the AD input value. When the value decreases to some extent(determined by variable, TouchSensitivity), there should be responds of events on the touch board. If the touch sensitivity is not suitable, adjust the value to change sensitivity. The larger the value, the lower the sensitivity.
