
No products in the cart.


MARTTINO AN OPEN SOURCE, OPEN HARDWARE ROBOTIC PLATFORM
A mobile robot to learn and discover
CODICE MEPA: R3D-MARREXP-00401
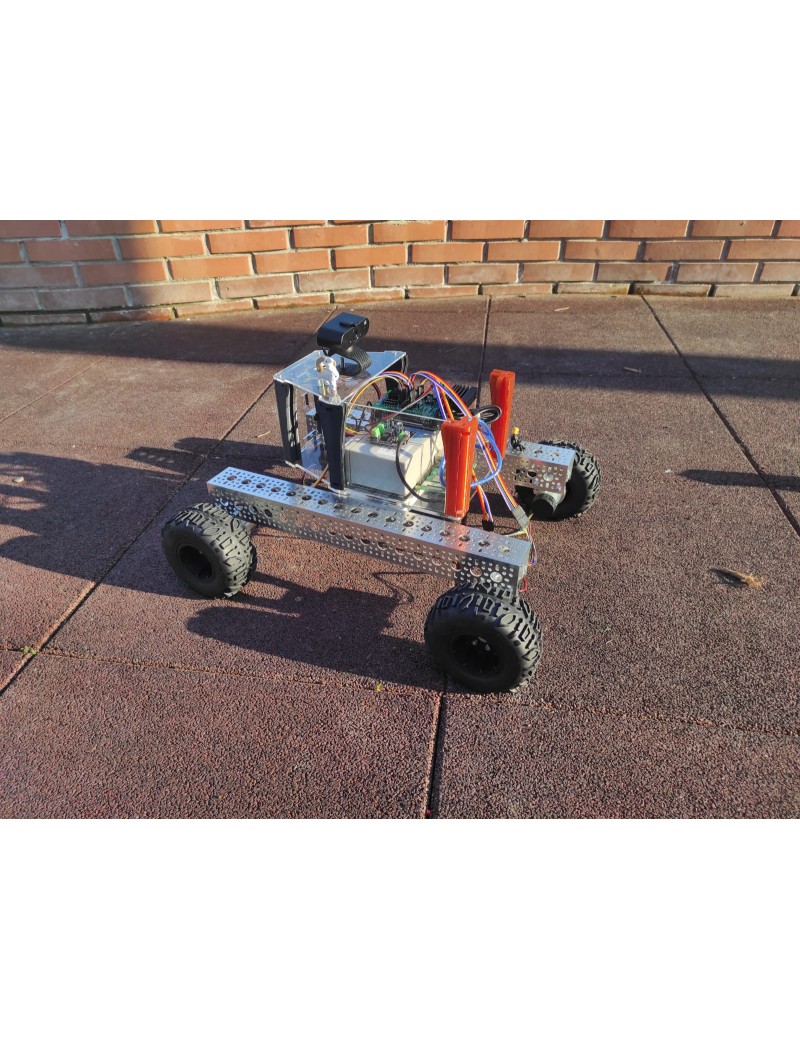
MARRtino is a ROS-based low-cost differential drive robot platform that comes in many shapes.
MARRtino has been designed to be easy-to-build and easy-to-program, but at the same time it uses professional software based on ROS. It is thus suitable to implement and experiment many typical Robotics and Artificial Intelligence tasks, such as smart navigation, spoken human-robot interaction, image analysis, etc.
Video for assemby robot
Mechanical part
Electronic part
3D and laser part
MARRtino is being successfully used in a variety of educational activities, ranging from pre-school children to PhD and PostDoc in Artificial Intelligence and Robotics.
You can develop your own robot in five steps:
1-Acquire the hardware - Part list
2-Assemble the robot - Build
3-Install the robot - Software
Requires:
Installation instructions:
For additional instructions check also here (currently only in Italian).
Raspberry Pi 3 image files (for Model B and Model B+)
4-Setup the robot Quick Setup
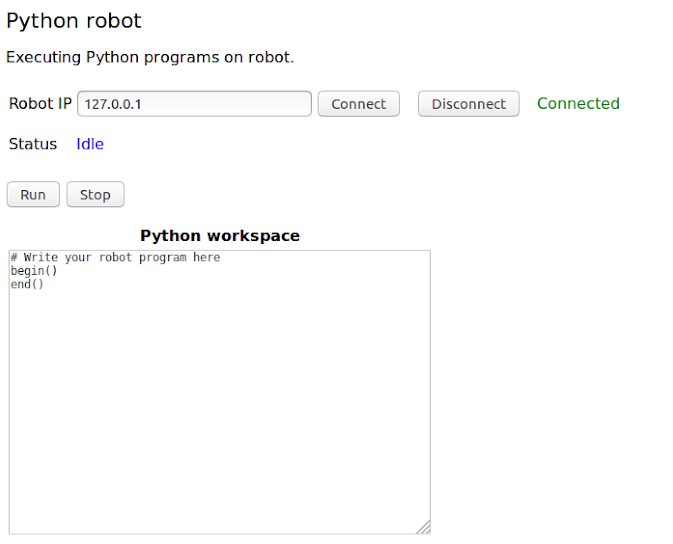
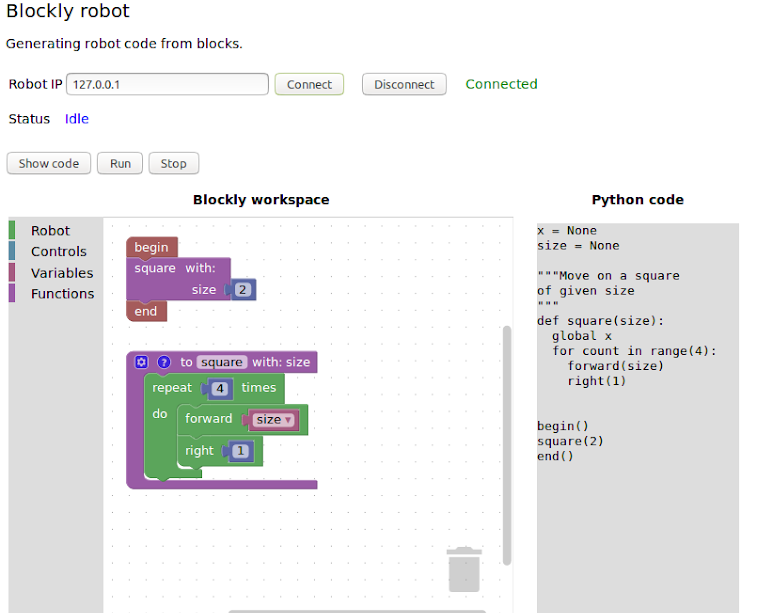
5-Program the robot- Several level of languages 4 in 1 - Programming


If you want to try MARRtino functionalities in a simulator, you can install the software (Step 3) and program the robot (Step 5) using the simulation mode.
Below some video example on how to setup and first programming
PART LIST
Control Board Mega2560 R3 ATmega2560
Raspberry PI , SD and cable
Motor Board Arduino Motor Shield R3
4x Motors 70:1 with encoder
Motor brackets
L-Bracket Pair Wheels
Scooter wheel 144mm AND Caster wheel
Wheel hub Aluminium adapter
12 V battery and Battery charger USB 2.0 & Voltmeter
cable MA/MB Wires and screws Power Switch Voltage reader
Raspberry Pi cable
Scheda DCDC12V5V
Laser cutted Parts
Alluminium chassis
Webcam Logitech or compatible USB camera